Enable AMP in Shopify (Updated for 2022) – In this article I am showing you how to enable Accelerated Mobile Pages (AMP) on your Shopify store.
You will also learn what AMP is and how it can improve the page load speed and consequently the conversion rate for your store.
If you want to learn more about the basics of SEO for Shopify, make sure you check my other articles:
- Shopify SEO Stats for 2020
- How to Verify Your Shopify Store with Google Search Console
- Optimise Shopify Page Title and Description
- How to Add Shopify Alt Tags to Theme Images
- How to add Alt Tags to Shopify Product Images
- How to Add Google Analytics to Shopify
- How to Add SEO Headings in Shopify
- How to Optimise Your Shopify Site Structure
- How to Edit Shopify Robots.txt File
- How to Find and Submit Your Shopify Sitemap
- How to Verify Your Shopify Store with Google
- How to Create a URL Redirect in Shopify
- Duplicate Content and Shopify
- Link Building and Shopify
- How to Compress Images on Shopify
- How to Improve Shopify Page Load Speed
- How to Backup Your Shopify Store
If you don’t know how to enable AMP in SHopify, feel free to check our Shopify SEO agency services.
What is AMP?
AMP stands for Accelerated Mobile Pages. It’s a project launched by Google in 2016 to offer a faster and more enjoyable mobile experience.
AMP are different from standard mobile pages. They ‘are cached and preloaded in search results, making the load time appear instant’. They also have ‘strict guidelines on coding, file sizes, and 3rd party plugins’ (source: speedboostr.com).
Why is Important to Enable AMP in Shopify?
It’s important to enable AMP in SHopify because it generates an improvement in a number of important SEOmetrics such as page load speed, conversion rate, dwell time and more.
Some of these metrics are considered as ranking factors by Google. This means that by improving these metrics, you will improve the rankings, visibility and traffic for your web pages.
How to Enable AMP in Shopify
To enable AMP in Shopify, you will need to install a third party app.
These are the most popular Shopify AMP apps:
- AMP by Shop Sheriff, 418 reviews with a 5.0 average rating
- AMP by Ampify Me, 402 reviews with a 4.8 average rating
- Fire AMP by MLVeda, 143 reviews with a 4.6 average rating
- Accelerated Mobile Pages by Open Think Group, Inc, 17 reviews with a 4.8 average rating
For the purpose of this tutorial I am going to use the AMP by Shop Sheriff app.
How to Enable AMP in Shopify with AMP by Shop Sheriff
To enable AMP in Shopify with AMP by Shop Sheriff:
- Visit the Shopify app store, download and install the app
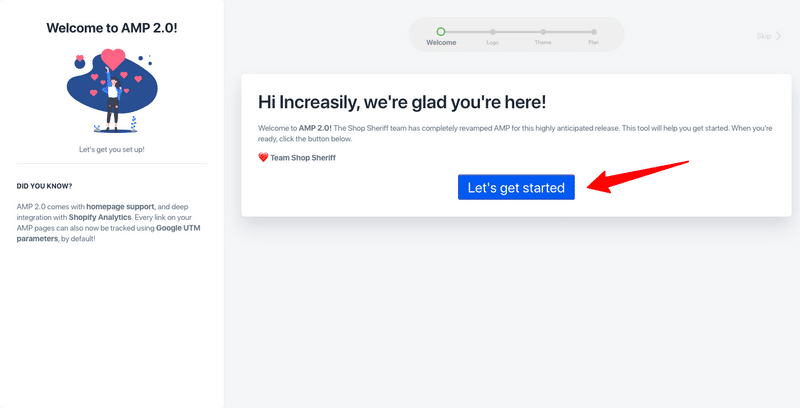
- After installing the app, click on ‘Let’s Get Started‘
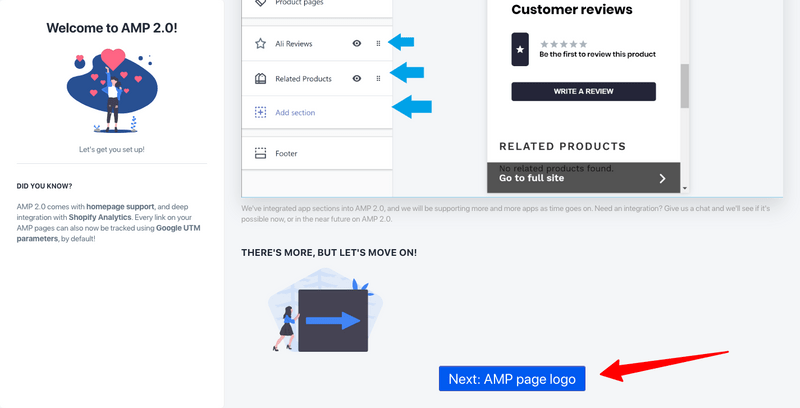
- Scroll past the version updates and to the bottom and click on ‘Next: AMP Page Logo‘
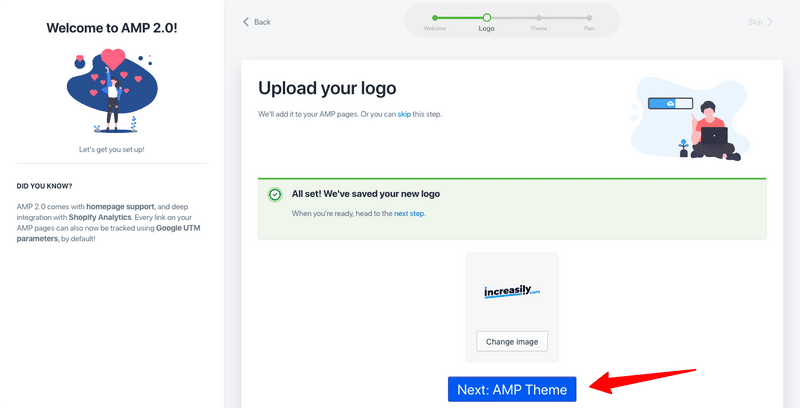
- You can upload your logo here or you can simply skip this step
- Once you are done, click on ‘Next: AMP Theme‘
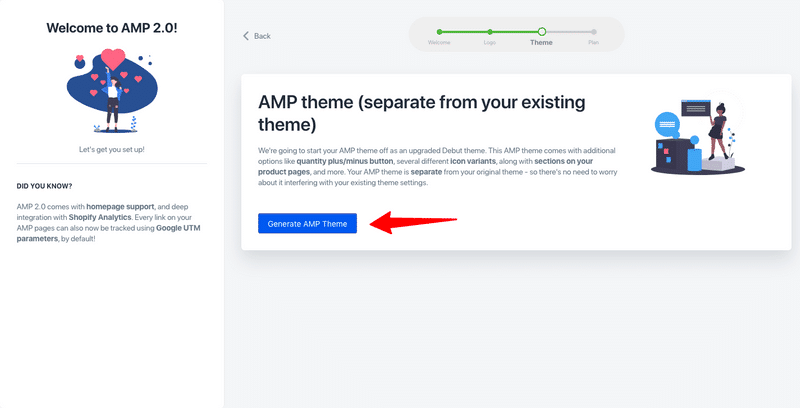
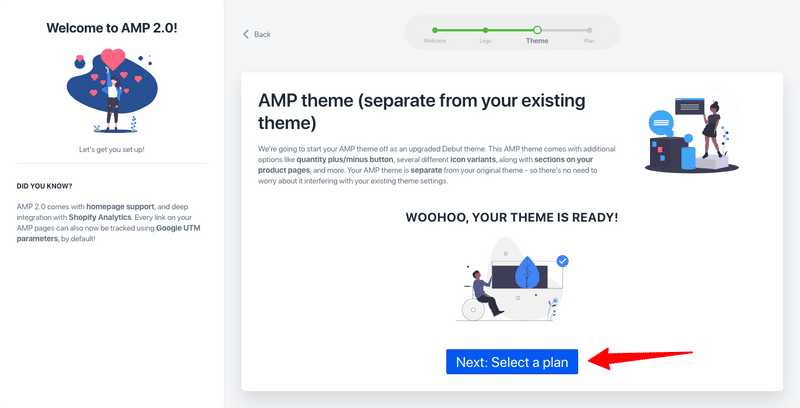
- Click on ‘Generate AMP Theme‘
- Next, click on ‘Select a Plan‘
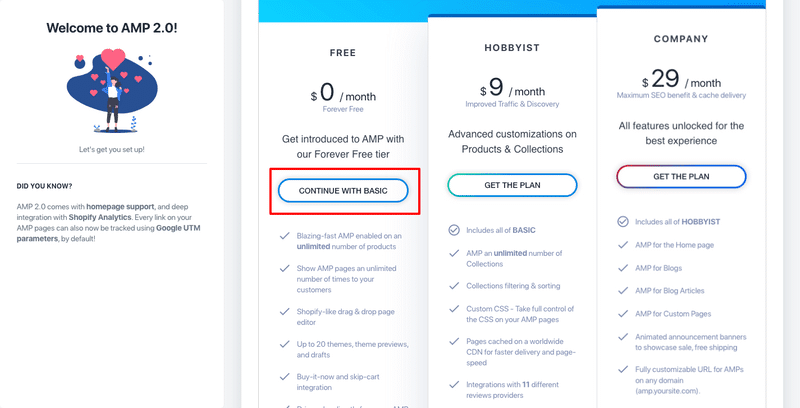
- If you only want to enable AMP pages for your products, then the free plan will do. However, if you want more freedom and customisation, the paid plans are quite affordable too
- Click on ‘Continue with Basic‘ for the free plan or choose one of the two paid options by clicking on ‘Get the Plan‘
- That’s it you are all set. I would recommend you do the quick tour at the end of the setup to become familiar with the several options and settings available.
1-2
3-4
5
6
7
8-10
To check what your new amp pages look like:
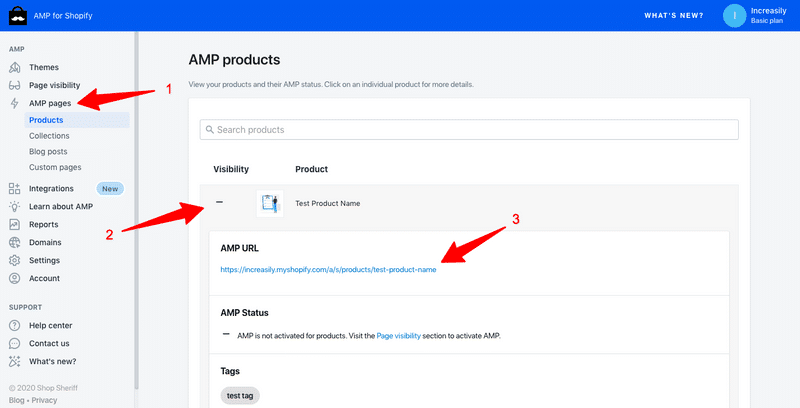
- Click on ‘AMP Pages‘ from the left sidebar and select the appropriate category (in the case of the free plan, you will only have access to Products)
- Click on the page you would like to check to open up a dropdown menu
- Click on the AMP URL of the page to check what it looks like (please note AMP is meant for mobile use so if you check it on your desktop it might not look as good)
Sources
https://stories.freepik.com/illustration/app-installation/rafiki


